
Reviews
Lightweight filters and sit tight
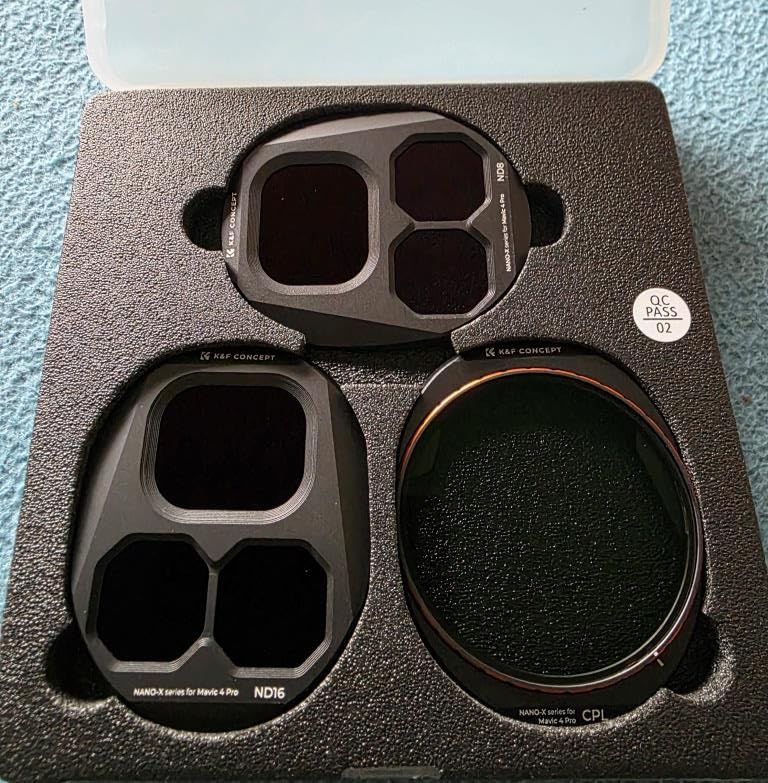
The DJI Mavic 4 Pro is already taking top recordings out of the box, but using CPL + ND filters, the recordings are exploited even better. That's why I chose this set from K&F. The filter set was delivered in a flat box. Which is also very handy for traveling and for storage.
Installing the filters is easy, turn the frame slightly to the left, remove and simply move the new filter to the left, then turn it slightly to the right and thus fix it. This makes it possible to change quickly at any time. I use the ND filters for photos and videos. With the ND8 filter, the video recordings get a little softer when the sun is shining, which comes across as a bit silkier. With the ND16, you can create really nice pictures. It's best to try out the various filters yourself and then compare the results.
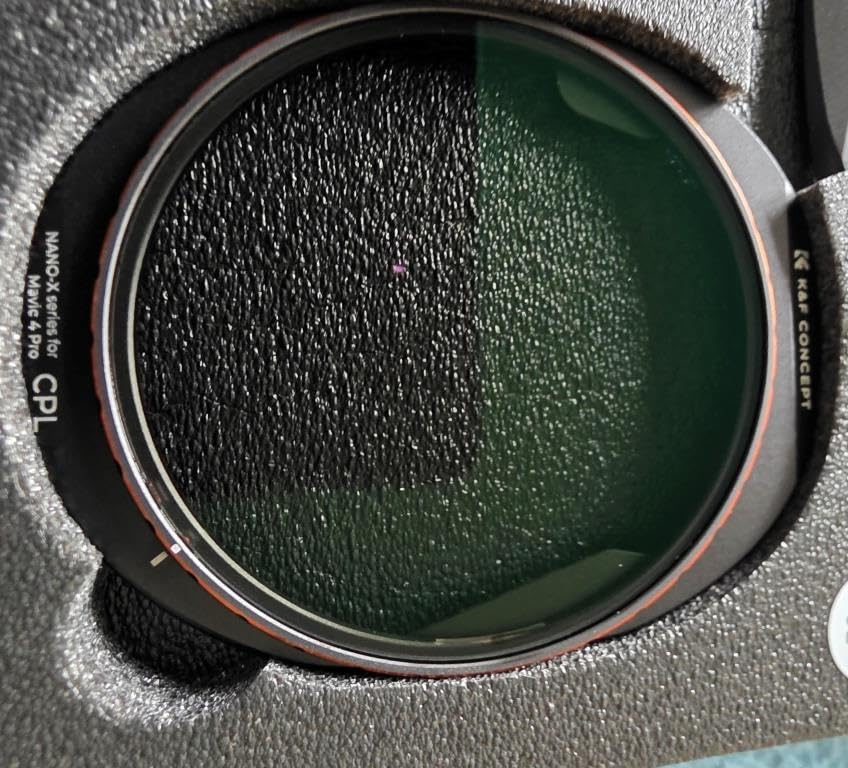
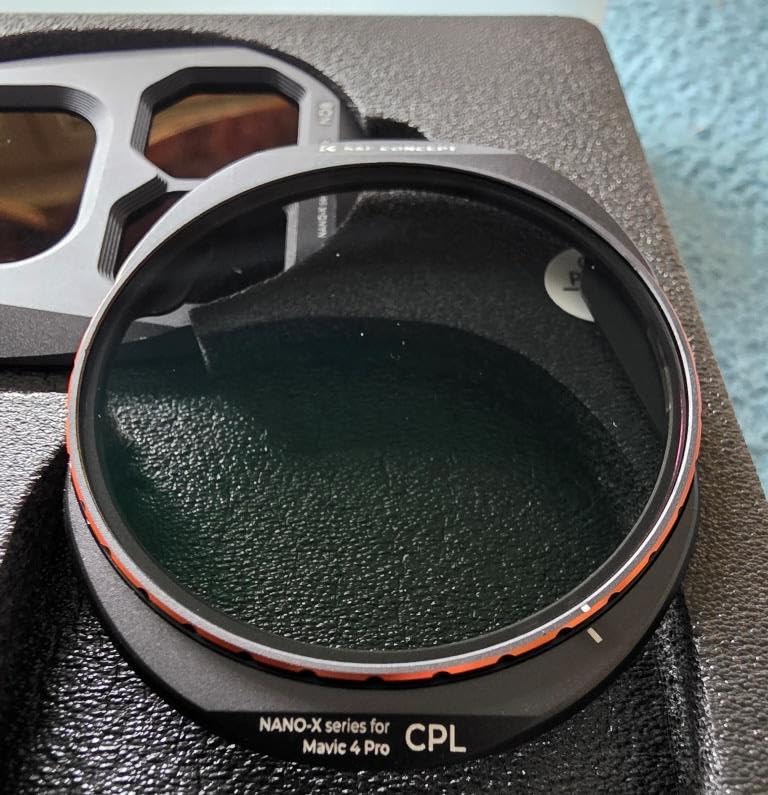
In addition to ND filters, I use the CPL filter the most. This allows me to minimize reflections/reflections caused by water or glass and optimize contrast. It prevents details from being lost due to overexposure. A polarization filter (also polarizing filter for short) is a polarizer for light. For me, the CPL filter is a “MUST” for impressive recordings.
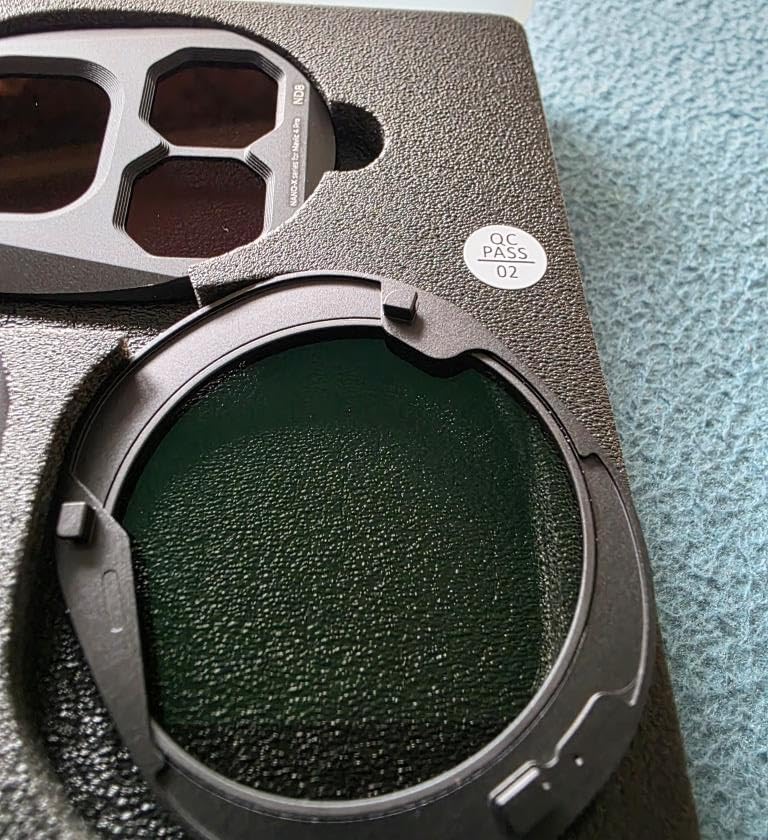
The outer ring of the CPL filter can be twisted, which has an effect on the polarization plane. I don't want to go any deeper into this matter, because that would go beyond the scope here... Just put it in zero position (line over line), that's right for the basic setting for reducing reflections.
The quality of the materials, including the glass, is good, the assembly is easy and the processing of the filters is flawless. They hold reliably, fit snugly and the recordings become even more professional.
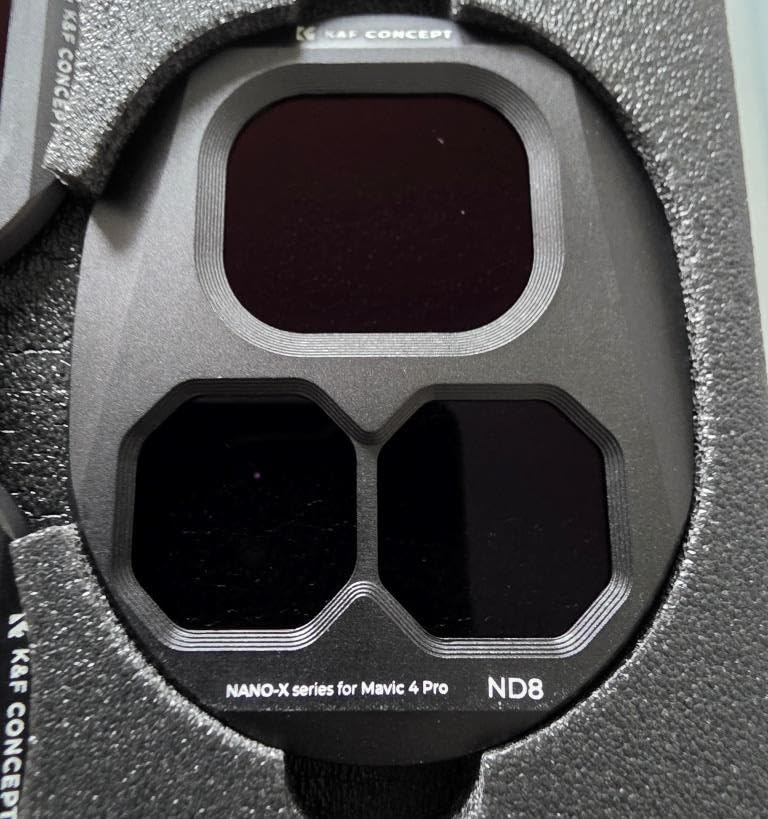
Explanation of the ND filter: I use them for long exposure and depending on sunlight. This allows smoother recordings to be made.
What is a gray filter/ND filter? A gray filter is a filter where the entire surface of the glass is darkened so that less light can penetrate the lens.
It is therefore possible to select longer shutter speeds and achieve the corresponding effects, such as fog-like water or soft, elongated moving clouds. Without filters, this would not be possible.
About gray filters:
Gray filters are available in various variations with slightly confusing names from providers. I don't want to go into the various manufacturers here, just the names. I also had to work my way through it first, but basically, it's easy to understand.
The information for this set means:
ND8 = slowing down the shutter speed by 3 stops to increase the shutter speed
ND16 = slowing down the shutter speed by 4 stops to increase the shutter speed This allows you to take pictures with higher contrast and use the manual adjustment.
By using the various filters, you will see how beneficial they actually are.
I am satisfied with this filter set and can also recommend it because of the good price/performance ratio.
Thank you so much for taking the time to read my review. I hope that I was able to help a bit with this.
Installing the filters is easy, turn the frame slightly to the left, remove and simply move the new filter to the left, then turn it slightly to the right and thus fix it. This makes it possible to change quickly at any time. I use the ND filters for photos and videos. With the ND8 filter, the video recordings get a little softer when the sun is shining, which comes across as a bit silkier. With the ND16, you can create really nice pictures. It's best to try out the various filters yourself and then compare the results.
In addition to ND filters, I use the CPL filter the most. This allows me to minimize reflections/reflections caused by water or glass and optimize contrast. It prevents details from being lost due to overexposure. A polarization filter (also polarizing filter for short) is a polarizer for light. For me, the CPL filter is a “MUST” for impressive recordings.
The outer ring of the CPL filter can be twisted, which has an effect on the polarization plane. I don't want to go any deeper into this matter, because that would go beyond the scope here... Just put it in zero position (line over line), that's right for the basic setting for reducing reflections.
The quality of the materials, including the glass, is good, the assembly is easy and the processing of the filters is flawless. They hold reliably, fit snugly and the recordings become even more professional.
Explanation of the ND filter: I use them for long exposure and depending on sunlight. This allows smoother recordings to be made.
What is a gray filter/ND filter? A gray filter is a filter where the entire surface of the glass is darkened so that less light can penetrate the lens.
It is therefore possible to select longer shutter speeds and achieve the corresponding effects, such as fog-like water or soft, elongated moving clouds. Without filters, this would not be possible.
About gray filters:
Gray filters are available in various variations with slightly confusing names from providers. I don't want to go into the various manufacturers here, just the names. I also had to work my way through it first, but basically, it's easy to understand.
The information for this set means:
ND8 = slowing down the shutter speed by 3 stops to increase the shutter speed
ND16 = slowing down the shutter speed by 4 stops to increase the shutter speed This allows you to take pictures with higher contrast and use the manual adjustment.
By using the various filters, you will see how beneficial they actually are.
I am satisfied with this filter set and can also recommend it because of the good price/performance ratio.
Thank you so much for taking the time to read my review. I hope that I was able to help a bit with this.


02/03/2026
Related products
 Multi Coated HD Optical Glass/Aluminum Frame")
 Multi Coated HD Optical Glass/Aluminum Frame")

 Multi Coated HD Optical Glass/Aluminum Frame")


Recommended products
![Supfoto Osmo Action 3 Screen Protector for DJI Osmo Action 3 Accessories, 9H Tempered Glass Film Screen Cover Protector + Lens Protector for DJI Osmo 3 Dual Screen [6pcs]](https://img.kentfaith.com/cache/catalog/products/us/GW41.0076/GW41.0076-1-200x200.jpg "Supfoto Osmo Action 3 Screen Protector for DJI Osmo Action 3 Accessories, 9H Tempered Glass Film Screen Cover Protector + Lens Protector for DJI Osmo 3 Dual Screen [6pcs]")


 Lens Filter Waterproof Scratch Resistant Nano-Xcel Series")


 Limited VND Filter Compatible with DJI Mini 4 Pro")

 For All Phone & 67mm Camera lens Variable Neutral Density Filter Compatible with iPhone Mobile Camera Filter, Galaxy S22 S23 Ultra")
Related articles


Recommended articles


